
You now have configured all of the generic information, appearance, and structure of your SparqFest web site. As noted in Components and Concepts, you configure both general information about the festival and information specific to the current edition of your festival. This article goes into configuring a specific edition.
Step 1: Review the Basic Info
With a festival new to SparqFest, this section will show a single edition with some made up dates in the near future. Click on it to begin configuring this edition of the festival. The initial tab, as with most editing interfaces, is a Basic Info with fields similar to the ones you saw in the Basic Info tab for the festival.
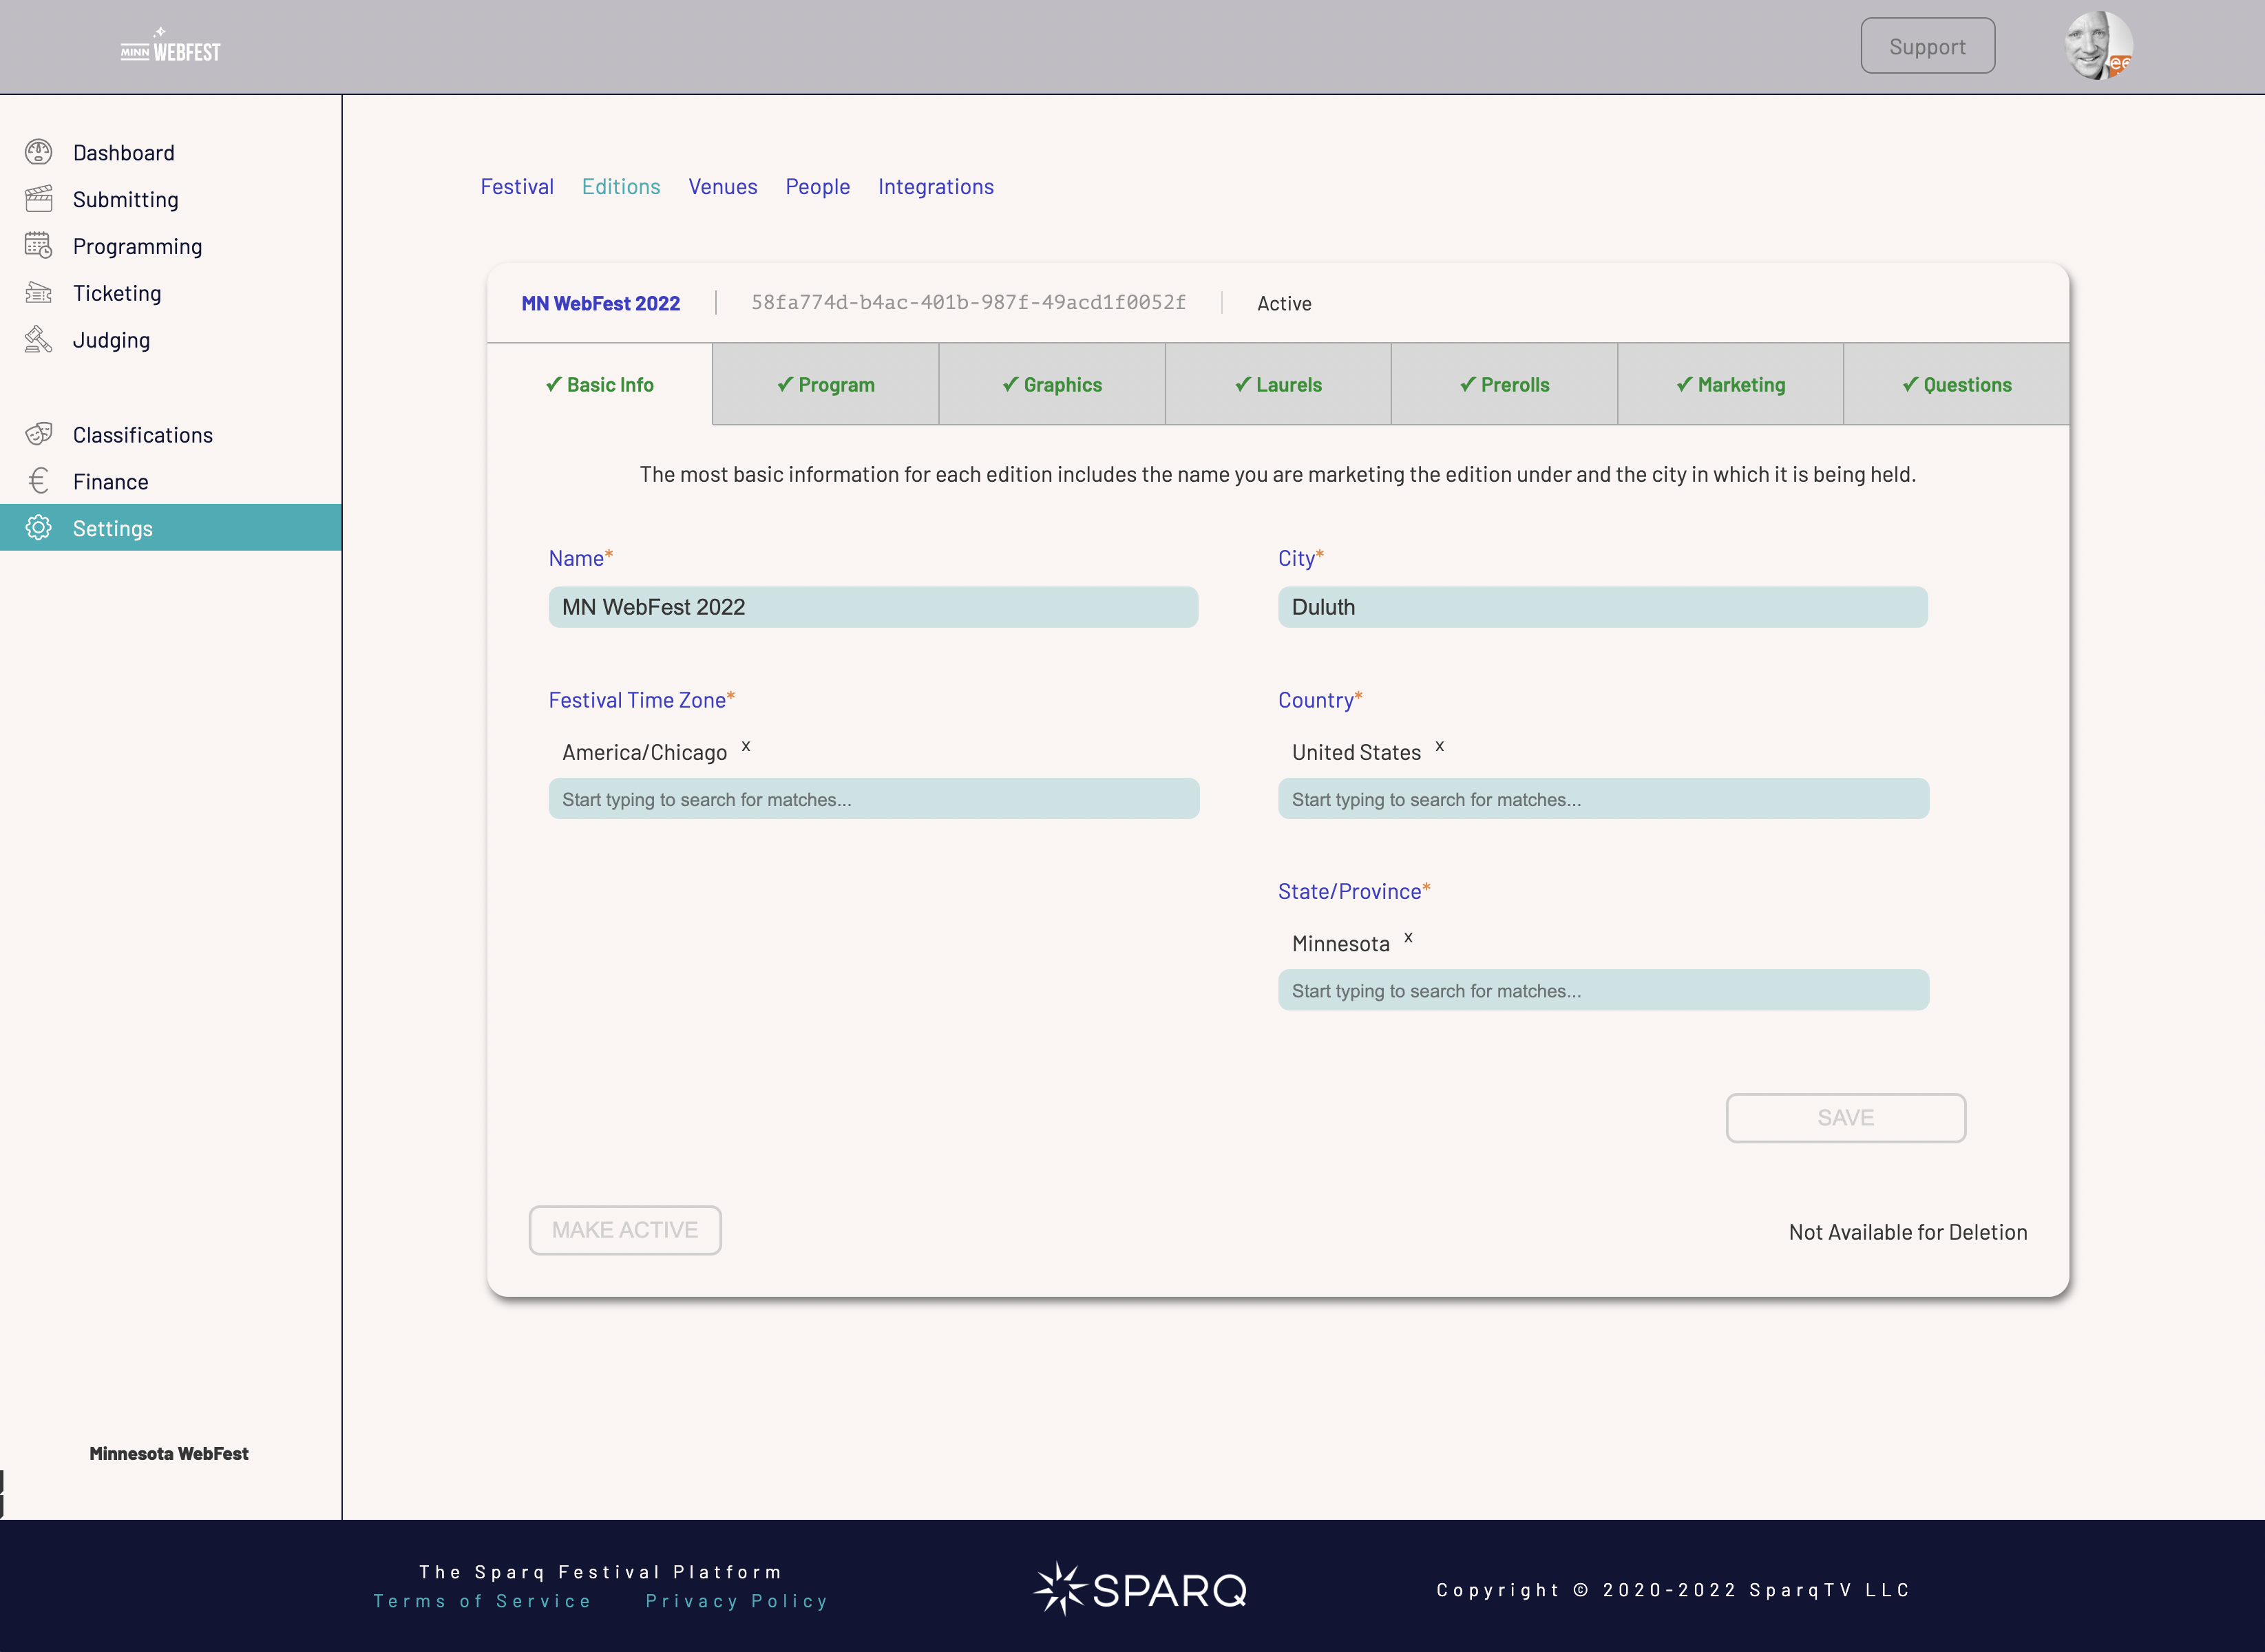
The Basic Info tab for editing a festival edition
Though the edition name can be the same as the festival (especially when the festival isn't really organized as "editions"), but it generally should reflect what edition of the festival this edition is. In the image above, the edition is for the 6th edition of Minnesota WebFest in 2022. The name of the edition could have been anything like "MNWF VI", "Minnesota WebFest 6", "Minnesota WebFest 20220", etc.
The festival timezone is the default timezone in which the festival is taking place. In general, it will match the timezone of your city. You can, however, set it to anything. By default, times listed for online events and screenings appears in the festival timezone. The festival timezone does NOT impact the timezone of in-person events. The timezone for in-person events is determined by the timezone of the specific venue for that event.
The city, country, and state/province for the festival represent the publicized festival location for this edition. A festival with multiple venues may, for example, have venues in different cities. Duluth-Superior Film Festival, for example, has venues in Duluth, Minnesota and Superior, Wisconsin. In the Venues subsection, you can separately configure each individual venue. Here, however, you configure the primary location.
Step 2: Configure the Program
The Program tab enables you to manage the general program for this festival edition. You specify the start/end dates for both the in-person and online portions of the festival as well as a screening model.
The screening model helps us organize festival content based on whether you are an in-person festival, online festival, or a mix of the two.
There are two options for a hybrid festival: mixed and both. "Mixed" means that some selections are in-person and some are online with not all selections being programmed both online and in-person. "Both" means that every selection is programmed into both the online and in-person festivals unless a specific creator has withheld permission for one or the other.
Step 3: Upload Home Page Banners
The Graphics tab is where you upload your home page banner images. There are two of these images you can upload:
- The Welcome Poster is the banner that will appear on the home page until the festival ends
- The After Festival Poster is the banner that will appear on the home page once the festival ends until there is a new active edition
This section provides Photoshop templates you can use to create your banner graphics. Though you don't need to have a different After Festival Poster, uploading one is a good way to have your festival automatically update with information about next year the minute this year's festival ends.
Step 4: Tasks to Note for Later
The first three steps identify what you must tackle right now. You can ignore most of everything else unless it interests you. One critical thing to note, however, is the "Publicize Selections" option on the Marketing tab.
For now, "Publicize Selections" is set to false. This setting means that the public site hides your official selections and they will not show up on the public site nor in any external feeds. As you are setting up each edition, you typically want things this way. Of course, at some point you will want the world to access those selections. You will thus need to re-visit this setting and flip "Publicize Selections" to true.
Another item to call out in the Marketing tab is the "Show Categories" option. "Show Categories" indicates whether or not you want the submission categories you configure in the "Submitting" section of SparqFest to show up on the public site. If you have straightforward categories that make sense to the public like "Short Film", "Feature Film", and "Web Series", you probably want "Show Categories" to be true. If your categories reflect internal terminology, however, then you may want "Show Categories" to be false.
Other Edition Tabs
We've ignored three tabs that have no bearing on your initial setup. Nevertheless, you will likely want to revisit them after you have the site configured to your liking.
Laurels
For now, you likely want to skip this section. It's a place where you can upload the laurels for Official Selections. Laurels are not required for your system, but they are useful for giving creators better access to laurels than FilmFreeway provides. A full discussion of our support for you selection, nomination, and awards laurels, however, is beyond the scope of this document.
Videos (or Prerolls)
Depending on what version of SparqFest you are using, you will see either a "Prerolls" tab or a "Videos" tab. Either way, this tab contains optional fields that you don't need to address just yet.
Questions
The Questions tab is entirely optional and a discussion of it is well beyond the scope of this document. This tab, however, enables you to define custom questions that will be asked of the creators for every selection in the festival. For now, leave it blank.
Other Settings
For now, configuring the festival and edition are all you need in order to get going with your festival. If you are operating in-person events, you will at some point need to add your venues into the Venues subsection. You can also invite other festival staff to help out in the People subsection. Finally, you can set up integrations with third-party apps in the Integrations subsection.
Another place you may want to touch on early are the classifications. By default, your SparqFest site comes with common genres and perspectives. We do not provide any default themes. Most festivals don't need to make any changes here, but if they do not match your expectations or audiences, you have full control over them in this section. You will want to verify they are sufficient, however, before you move on to importing submissions.
You can now force a rebuild of your public site by going to the Dashboard and clicking the "Rebuild Site" button. This will force SparqFest to rebuild all of the public site pages based on your new configuration information (by default, a rebuild will occur roughly ever four hours). This rebuild will take anywhere from 5 minutes to 45 minutes depending on the amount of content you have uploaded (generally, around 5 minutes for a new site). Once the rebuild completes, it can take another half hour for all of our caches to clear. To see the rebuilt site, you may have to force your browser to by-pass browser cached pages. On Chrome cmd-option-R (crtl-option-R) will force a reload without the cache.
Next Up: Submissions